Mural Painting 101 – Under the Sea Themed Nursery
June 7, 2013
People always assume my house is covered with murals. The fact is, I’m usually painting a wall for someone else and I’m quite indecisive when it comes to my own decor. That said, I have dreamed of the day I would get to design and paint my own nursery, and the time has finally come! I thought I’d document some of the process in case in of you DIY folk out there would like to try your hand. And yes, I’m fully aware that you can buy a vinyl decal these days, slap it on the wall and voila…but where’s the fun in that? This technique will show you how to take a simple sketch, blow it up, and transfer it to the wall. All you’ll need is a pencil, some paper, painters tape, acrylic paint, good brushes, and a steady hand.
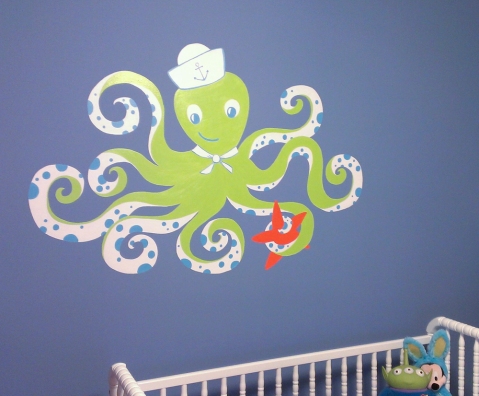
Since our nursery was already blue, I decided long before we found out we were having a boy that rather than repaint the whole room, we’d go with an Under the Sea theme. (some of you may recall a similar project I worked on a few years back…click!) Our nursery is small, so I wanted a focal point over the crib, and decided an Octopus would be fun to paint…
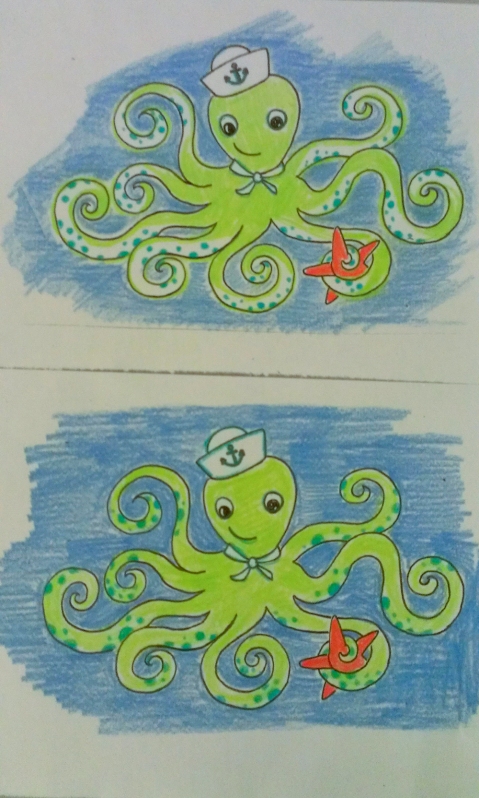
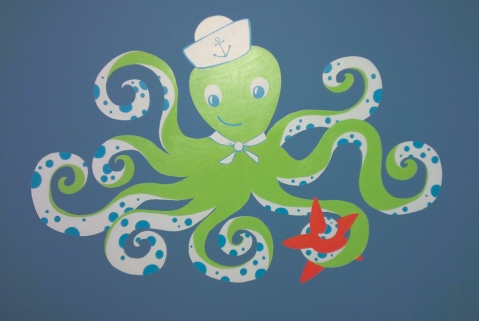
I sketched a few options with my favorite color scheme (blue and yellow-green with accents of red-orange) and chose the version with the white undersides to balance out the white in his sailor cap.
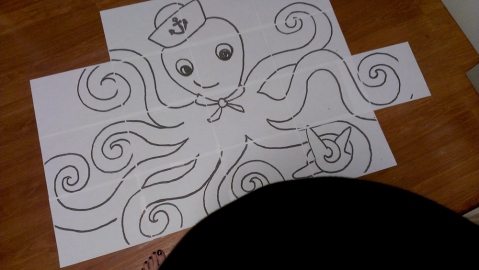
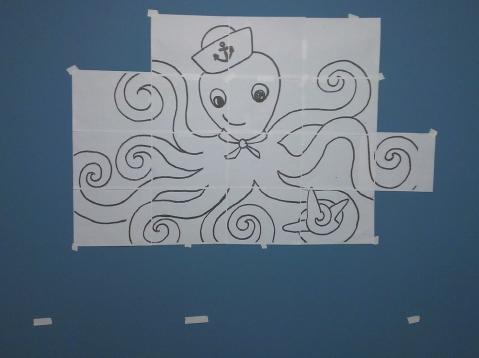
Next I scanned my tiny sketch into photoshop and printed him out to scale on regular letter sized paper. In the past, I’ve been known to free-hand a mural or two, but in the interest of keeping my proportions and minimizing the amount of touch ups needed, an enlarged template is never a bad idea.
Yep, that’s my big ole belly making a cameo.
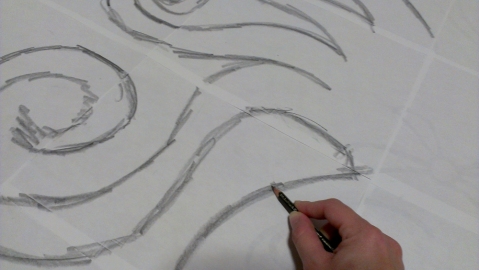
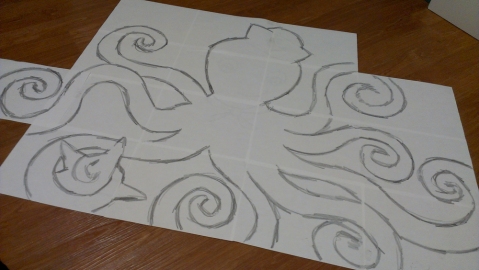
After putting all the pieces back together with tape, I flipped over the template and used the side of my pencil to roughly apply graphite to the black lines visible through the paper…
It doesn’t have to be perfect, in fact it’s best if you go a little outside the lines here. The more graphite applied, the better it will transfer to your wall.
Next, tape your template to the wall using painters tape. You can move it around until you get it just where you want it…
I measured our crib and marked the height with those little pieces of painters tape to make sure that Ocho (yes, that’s his name) would be properly placed without being cut off.
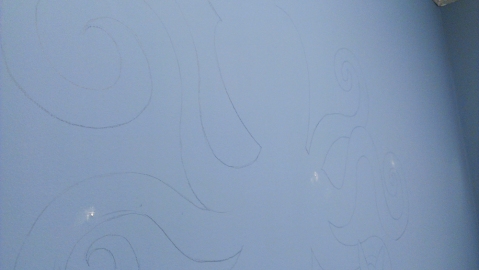
Next, I took my pencil and traced over the black lines, applying medium pressure. This will transfer that messy graphite to your wall. Before you remove your template completely, be sure to sneak a peek and make sure that all of your lines transferred nicely.
The lines will be faint, but they are there! Those little white spots are patched holes where we had nails from other artwork prior to making this the mural wall. To save myself from touching up blue paint, I strategically placed Ocho’s arms in the areas where the holes were.
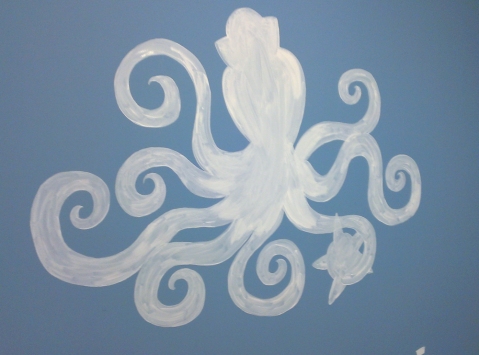
Now it’s time to prime…and prime some more….and some more after that…and some more after that. Trust me, you don’t want to skip this step if you’re planning on painting a colored wall. It will save you LOTS of time in the long run. I used Killz low VOC primer that we had on hand from another project. (with windows open for good ventilation of course)
Now that you’ve laid quite the foundation, it’s time to start painting the fun stuff. I always paint from the background to the foreground.
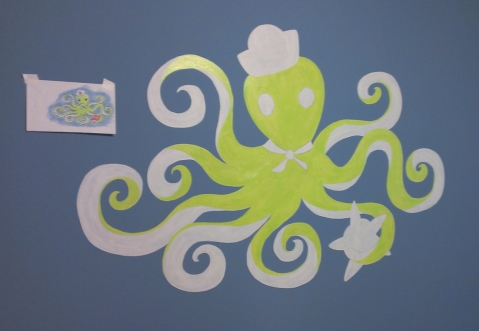
I kept my sketch of Ocho nearby for reference. Oh and I won’t lie…yellow-green, though one of my favorite colors, usually requires many, many coats for a nice opaque layer…this green took 4 coats to cover well…I’d probably still be applying coats if I hadn’t primed!
Here he is! Spots and all! I’m really happy with how he turned out! He’s bright (no pastels for my baby) and he’s the perfect size for over the crib…measuring roughly 3 feet tall by 4.5 feet wide. I won’t lie, he was definitely time consuming…roughly 20 hrs, start to finish, but totally worth it!
The best part? He’s completely custom for our lil man.
I’m sure I’ll be adding some additional features to his room as time goes on, but for now, this is about all I have in me…(and standing on a ladder probably isn’t too terribly safe for a pregnant woman anyway)
I’d love to see some pics of your own DIY murals, and hope this little tutorial gives you a few tips to help you create something really spectacular!
